
Short answer: for a standard aluminium radiator line, a dry air test (pressure decay or differential pressure) is usually the best balance of speed, cost and automation. Water tests are cheap and show exactly where a leak is, but the part has to be dried. Helium is only worth it when the allowed leak rate is extremely small, as with battery cooling plates.
A brazed core can look perfect and still lose coolant through a pinhole in a joint or a crack inside a tube. That is why every finished radiator should be leak tested before it is packed. Which method you use depends on four things: how the part is built inside, the pressure it works at, the leak rate you can accept, and how many parts an hour you need to test.
The six methods at a glance
| Method | Test medium | Finds the leak location | Gives a leak figure | Typical use |
|---|---|---|---|---|
| Bubble (immersion) | Air under water | Yes | No | Repairs, samples, small batches |
| Hydrostatic hold | Water | No | Pressure drop only | Strength and high-pressure checks |
| Pressure decay | Air | No | Yes | Automated radiator lines |
| Differential pressure | Air | No | Yes, finer | Precision parts, stable cycle times |
| Helium mass spectrometer | Helium | Spray mode only | Yes, very fine | Battery cooling, aerospace |
| Halogen sniffing | Tracer gas or refrigerant | Yes | Mostly no | AC condensers, field service |
Wet tests: bubble and hydrostatic
Bubble test
The radiator is filled with compressed air, usually 0.2–0.8 MPa, and lowered into clean water. A stream of bubbles shows the leak. The equipment is simple and inexpensive and the operator sees the exact spot to repair, so it suits repair work, samples and short runs.
The drawbacks: the part must be dried afterwards, aluminium can stain or oxidise, very small leaks are easy to miss, the workshop gets wet, and you get a yes or no rather than a number you can record.
Hydrostatic pressure hold
The part is filled with water and pressurised, often to 1.0–3.0 MPa, then the pressure is watched for a drop. It proves the part can take high pressure as well as checking it is sealed. It does not show where the leak is, small leaks take a long time to show, and temperature changes or a leaking fixture can upset the reading. Like the bubble test, it leaves water in the part.
Dry tests: pressure decay and differential pressure
Both methods fill the part with air, close the valve and measure what happens next. There is no water to dry, no wastewater, and the result is a number that can be compared with a set limit and saved for traceability, which is why they fit automated lines.
- Pressure decay measures the drop in pressure inside the part. It is the most economical automatic test, but a change in air temperature looks like a leak, and large parts need longer to fill and settle.
- Differential pressure pressurises the part and a sealed reference volume together and measures the difference between them. Changes that affect both sides cancel out, so it can detect smaller leaks than plain pressure decay, at a higher equipment cost.
Neither method locates the leak, and worn sealing plugs or fixtures will make both less accurate, so tooling maintenance matters as much as the instrument.
Tracer gas tests: helium and halogen
Helium mass spectrometer testing evacuates the part, either inside a vacuum chamber or by spraying helium on the outside, and detects any helium that gets through. Suitable systems reach sensitivities around 10⁻⁹ Pa·m³/s, enough to find brazing porosity. In spray mode it also shows where the leak is. The cost is high: the machine, the helium, recovery and ventilation, and longer cycle times for large internal volumes.
Halogen sniffing fills the part with a halogen tracer or refrigerant and scans the outside with a handheld detector. It is portable and good for condensers and on-site service, but it is less sensitive, some refrigerants are restricted, and air movement in the workshop disturbs the reading.
Which test fits your product
| What you need | Method to look at first |
|---|---|
| Repairs and occasional checks | Bubble test |
| Proof that the part takes high pressure | Hydrostatic hold |
| Every radiator on a production line, at low cost | Pressure decay |
| Tighter limits with steady cycle times | Differential pressure |
| Extremely low allowed leak rate | Helium mass spectrometer |
| AC condensers and field service | Halogen sniffing |
A common mistake is buying the most sensitive tester available. A helium system makes sense for battery cooling plates, but for car radiators it adds cost and cycle time without changing which parts pass. Start from the leak rate your customer actually specifies.
Where leak testing sits in a radiator plant
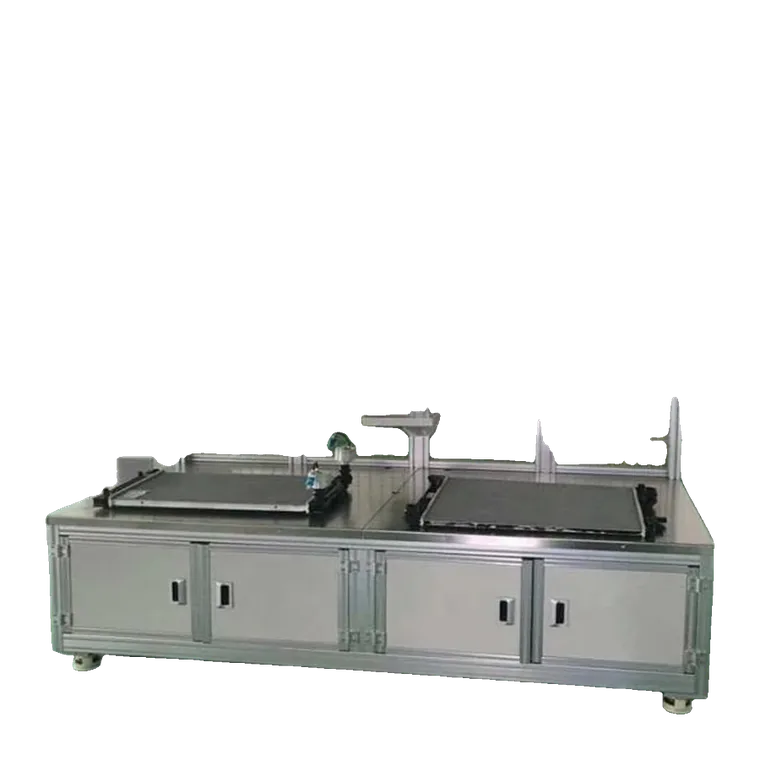
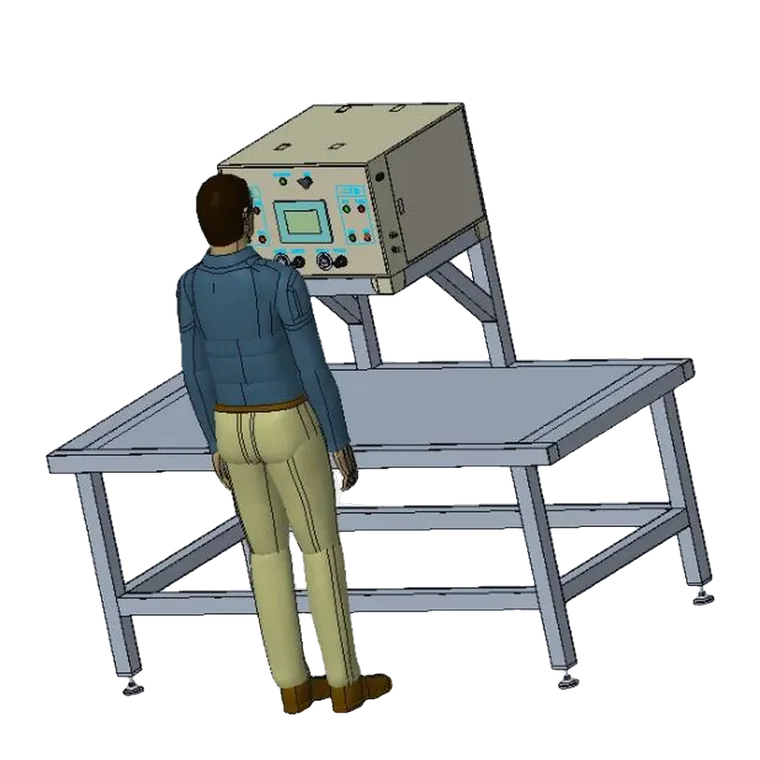
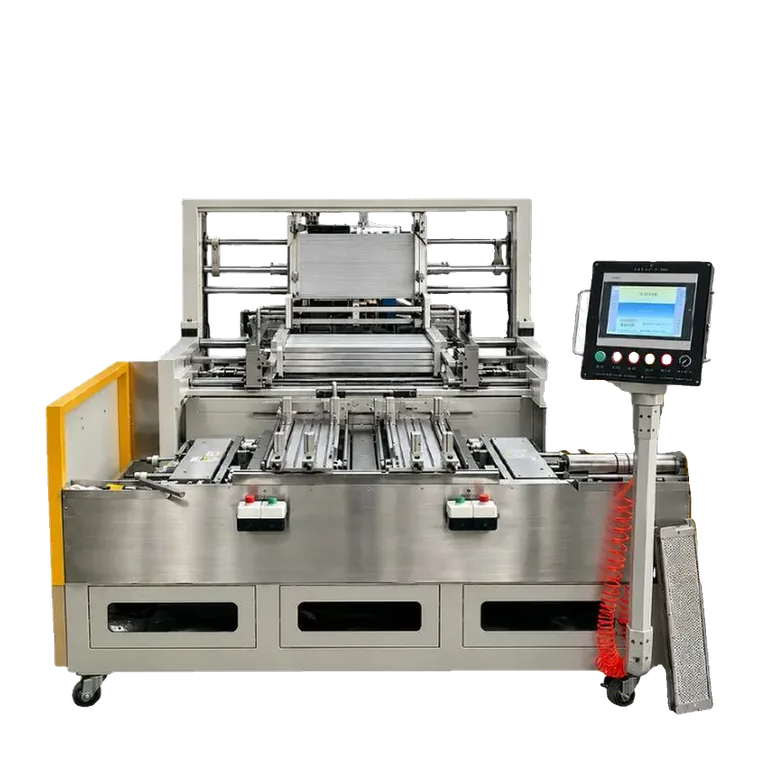
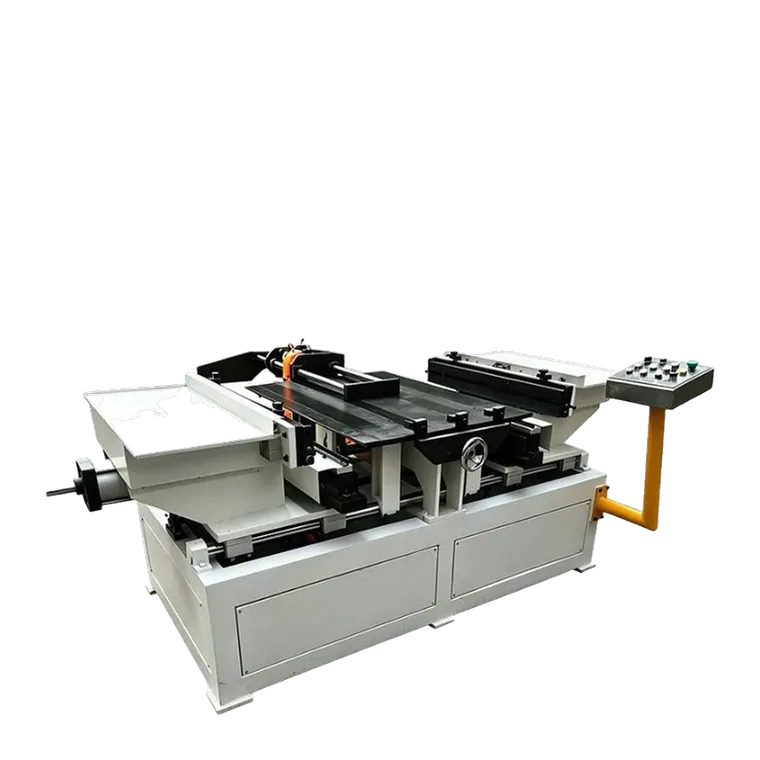
In our aluminium radiator production line leak testing comes after tank clinching and before packing, so the whole finished radiator, plastic tanks and gaskets included, is tested. Our standard plant uses two YD-P3010 air leak testers: twin benches, 10–1000 kPa test pressure, ±0.2% F.S. sensor accuracy and 100,000 stored results that export to CSV. For repair shops and high-pressure checks we also supply a bench air leak tester and a water leak testing machine rated up to 10 MPa.
To recommend a tester, we need your product type and size, the test pressure and allowed leak rate, and how many parts an hour you test. Send them on WhatsApp or through the line builder.
Frequently asked questions
Which leak test is most common for car radiators?
A dry air test, either pressure decay or differential pressure. It needs no drying, can be automated, and records a value for every radiator.
Can a water test and an air test be combined?
Yes. Many plants use an automatic air test for every part and keep a bubble tank next to it to find the exact leak on rejected radiators before repair.
Why do air leak testers give false rejects?
Usually because of temperature: a warm part cools during the test and its pressure drops. Worn plugs and fixtures are the next most common cause. Longer settling times and fixture maintenance help.